

Switching to an eSIM can feel like unlocking the future of mobile connectivity—no more fiddling with tiny SIM cards or hunting for local stores while traveling. But like any technology, eSIMs can come with their own set of challenges during setup. If you’ve tried to activate an eSIM and found yourself stuck, you’re not alone.
In this guide, we’ll break down the top 10 eSIM setup problems travelers face and give you clear, step-by-step solutions—so you can focus on your trip, not your tech.
1. eSIM Not Compatible with Your Device
The Problem:
Many travelers purchase an eSIM plan only to discover their phone doesn’t support it.
The Fix:
- Check your phone model on the provider’s compatibility list before purchase.
- For Apple users: iPhone XS or later (except models from certain regions like China mainland) generally support eSIM.
- For Android: Google Pixel 3+, Samsung Galaxy S20+, and newer high-end models are usually compatible.
- If unsure, search “[Your Device Model] eSIM compatibility” online.
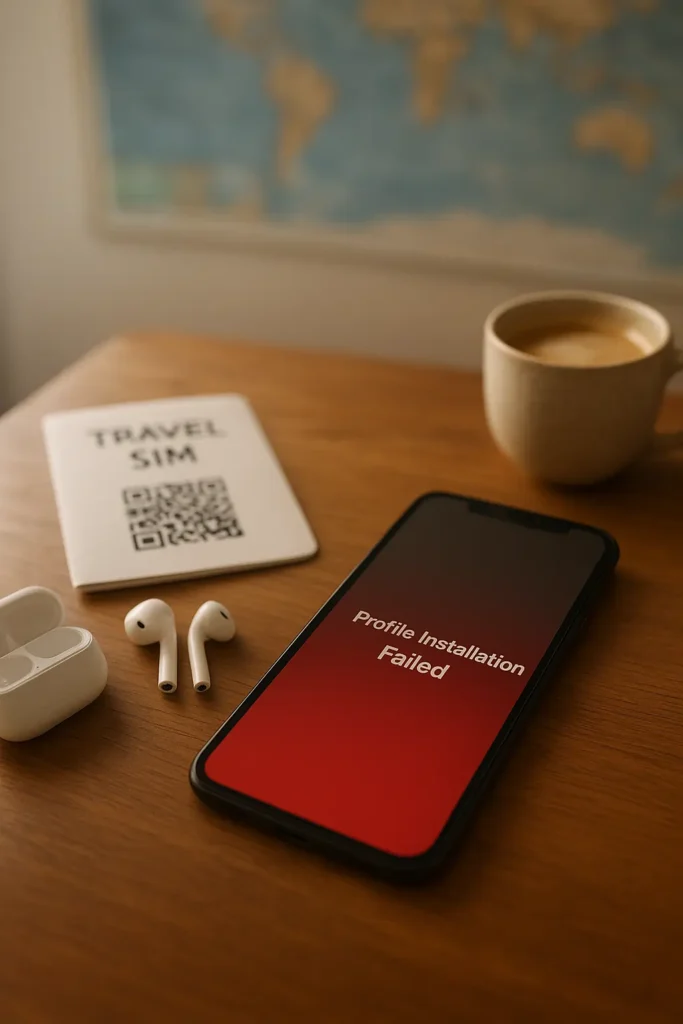
2. QR Code Not Scanning
The Problem:
The QR code provided by your eSIM carrier won’t scan, or the camera doesn’t recognize it.
The Fix:
- Clean your camera lens and ensure good lighting.
- Print the QR code if you’re scanning it from another device.
- If still failing, manually enter the activation details (SM-DP+ Address and Activation Code) usually included in your eSIM email.
3. “No Service” After Activation
The Problem:
You’ve added the eSIM, but your phone shows “No Service” or “Searching.”
The Fix:
- Ensure Mobile Data is enabled for the eSIM line.
- Check if Data Roaming is switched on (important for international travel).
- Restart your phone after setup.
- Confirm the eSIM’s validity start date from your provider.
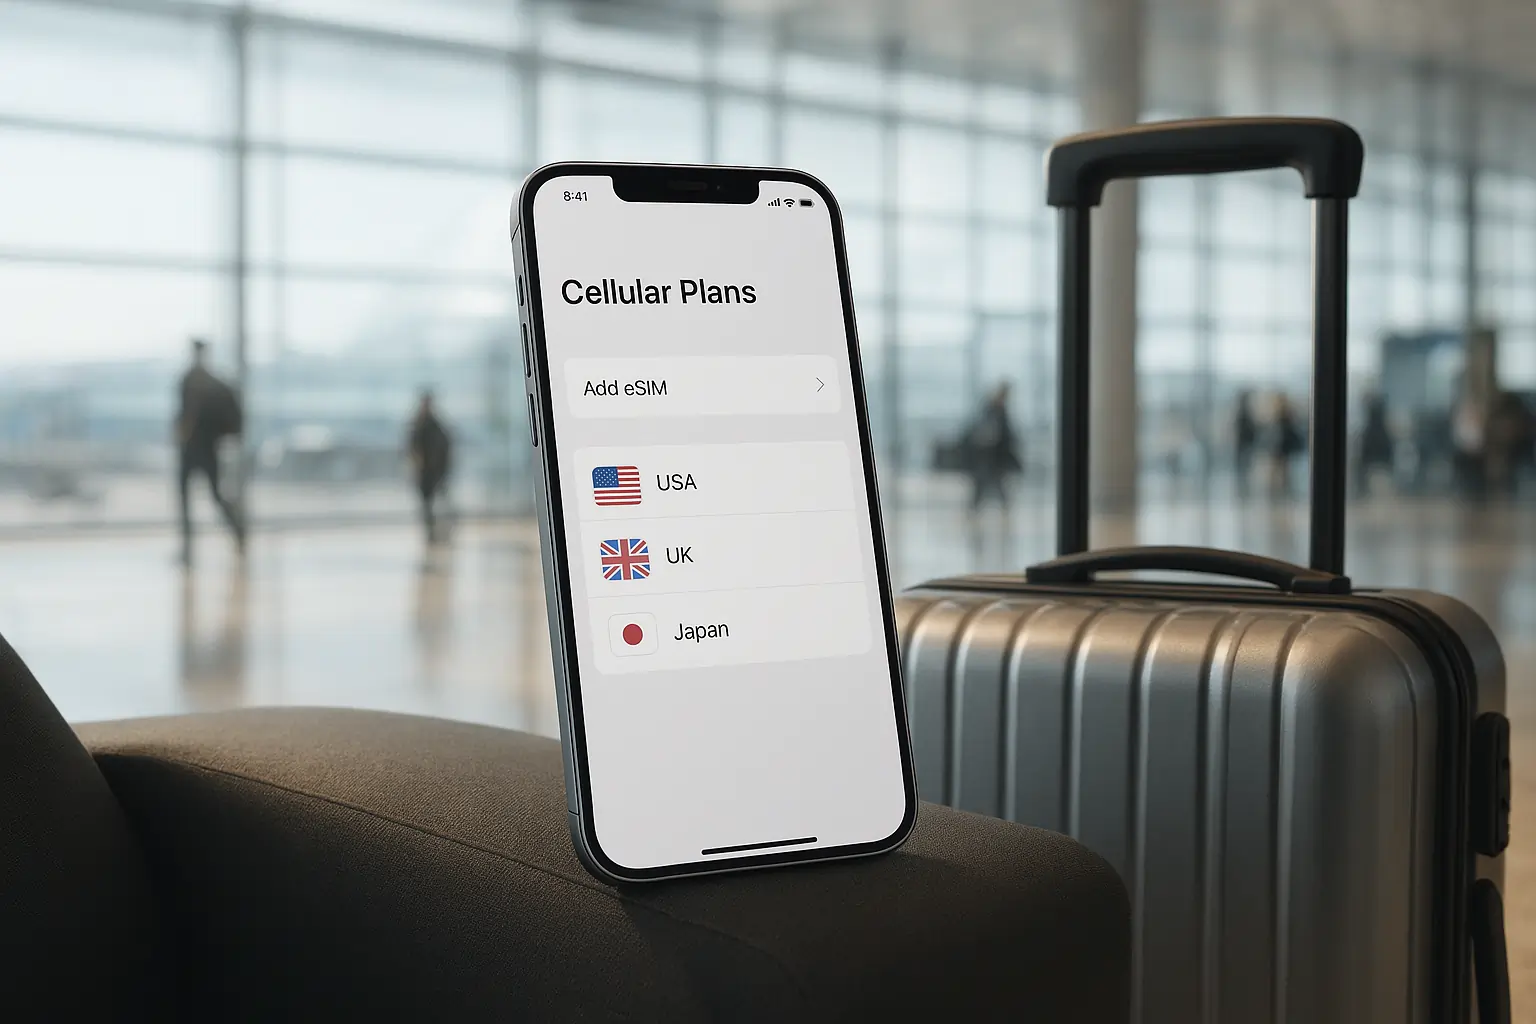
4. Wrong eSIM Profile Selected
The Problem:
Multiple eSIM profiles are installed, but the wrong one is active.
The Fix:
- Go to Settings > Cellular/Mobile Data and select the correct plan as the default for mobile data.
- Label your eSIM profiles clearly (e.g., “Japan Trip” or “Europe Plan”) for easy switching.
5. Slow Internet Speeds
The Problem:
Your eSIM is active, but browsing feels like dial-up from the ’90s.
The Fix:
- Check if you’re in an area with strong 4G/5G coverage.
- Turn Airplane Mode on/off to refresh the connection.
- Manually select a stronger network in Network Settings if available.
6. Activation Email Lost
The Problem:
You can’t find the QR code or activation details after purchase.
The Fix:
- Check spam/junk folders.
- Log into your provider’s account dashboard to re-download details.
- Contact customer support to resend the activation email.
7. eSIM Plan Expired Early
The Problem:
Your plan ends sooner than expected.
The Fix:
- Check if your plan validity starts from the purchase date or first use.
- Some providers start the clock immediately, even if you haven’t activated it.
- Always read the plan terms before buying.
8. Can’t Receive SMS or Calls
The Problem:
Your eSIM data works, but SMS or calls don’t come through.
The Fix:
- Some travel eSIMs are data-only—meaning no voice or SMS.
- Use VoIP apps like WhatsApp, Skype, or Google Voice for calls/texts.
- If you need SMS (e.g., for banking), keep your physical SIM active alongside your eSIM.
9. Provider Not Supporting Your Destination
The Problem:
You’ve landed in a country where your eSIM has no network partner.
The Fix:
- Check coverage maps before purchase.
- Switch to a different eSIM profile or buy a new plan covering your destination.
- Consider global eSIM plans for multi-country travel.
10. Factory Reset Wipes eSIM
The Problem:
You reset your phone and lose the eSIM profile.
The Fix:
- Always back up eSIM details (if supported by your provider).
- Some carriers require reissuing a new QR code after a reset—contact them immediately.
- Avoid factory resets mid-trip unless absolutely necessary.
Final Tips for Hassle-Free eSIM Setup
- Always purchase your eSIM from a trusted provider.
- Download and store QR codes in multiple locations (phone, email, cloud).
- Test your eSIM before you travel to avoid airport stress.
Pro Tip: If you’re comparing options, remember the eSIM vs physical SIM debate—eSIMs are better for convenience and multi-country trips, but physical SIMs can still be handy in areas with limited coverage.
FAQs on eSIM Setup Problems
1. Why is my eSIM QR code not scanning?
This usually happens if your phone’s camera can’t focus properly, the QR code is damaged, or there’s poor lighting. Try cleaning your camera lens, adjusting lighting, or increasing screen brightness if scanning from another device. If the issue persists, manually enter the activation details provided by your eSIM provider.
2. Can I install my eSIM before traveling?
Yes, and it’s often recommended. Installing your eSIM while you have a stable Wi-Fi connection ensures that any potential issues can be fixed before your trip. However, don’t activate the plan until you arrive if your provider’s validity period starts immediately upon activation.
3. My phone says “eSIM not supported” — what does this mean?
This means your device either doesn’t support eSIM technology or is carrier-locked to another provider. Check your phone’s specifications and make sure it’s both eSIM-compatible and unlocked before purchasing.
4. How do I switch back to my physical SIM if my eSIM isn’t working?
Go to your phone’s SIM management settings and reactivate your physical SIM. If you’re using a dual-SIM setup, you can simply toggle the preferred SIM for data or calls without removing the eSIM.
5. Why am I not getting mobile data after installing my eSIM?
Make sure mobile data is turned on for your eSIM profile, and confirm APN (Access Point Name) settings match those provided by your eSIM provider. Some networks require you to manually enter APN details for data to work.


Leave a Reply