
When you’re packing for a trip abroad, most people think about their passport, chargers, and maybe even travel insurance. But if you’re bringing an iPad, there’s something else worth checking: does your iPad support eSIM?
For frequent travelers, digital nomads, or even casual tourists, iPads that support eSIM offer a huge advantage. You can stay online without hunting for local SIM cards, avoid roaming charges, and get connected instantly in nearly any country.
In this guide, we’ll break down:
- Which iPads support eSIM in 2025
- How to activate an eSIM plan on your iPad
- What travelers should know before choosing an eSIM
- Practical tips and FAQs for using eSIM while traveling
Which iPads Support eSIM?
To use eSIM, your iPad must be a Wi-Fi + Cellular model. Wi-Fi-only iPads do not support eSIM or mobile data. Even with the correct model, you’ll need a recent version of iPadOS for the eSIM menu to appear.
Here’s a complete list of iPads that support eSIM as of 2025:
| iPad Model | eSIM Support | Notes |
| iPad Pro 11″ (1st gen and later) | Yes | From 2018 onward |
| iPad Pro 12.9″ (3rd gen and later) | Yes | From 2018 onward |
| iPad Air (3rd gen and later) | Yes | From 2019 onward |
| iPad (7th gen and later) | Yes | Budget models with eSIM support |
| iPad mini (5th gen and later) | Yes | Lightweight, portable for travel |
To check if your iPad supports eSIM:
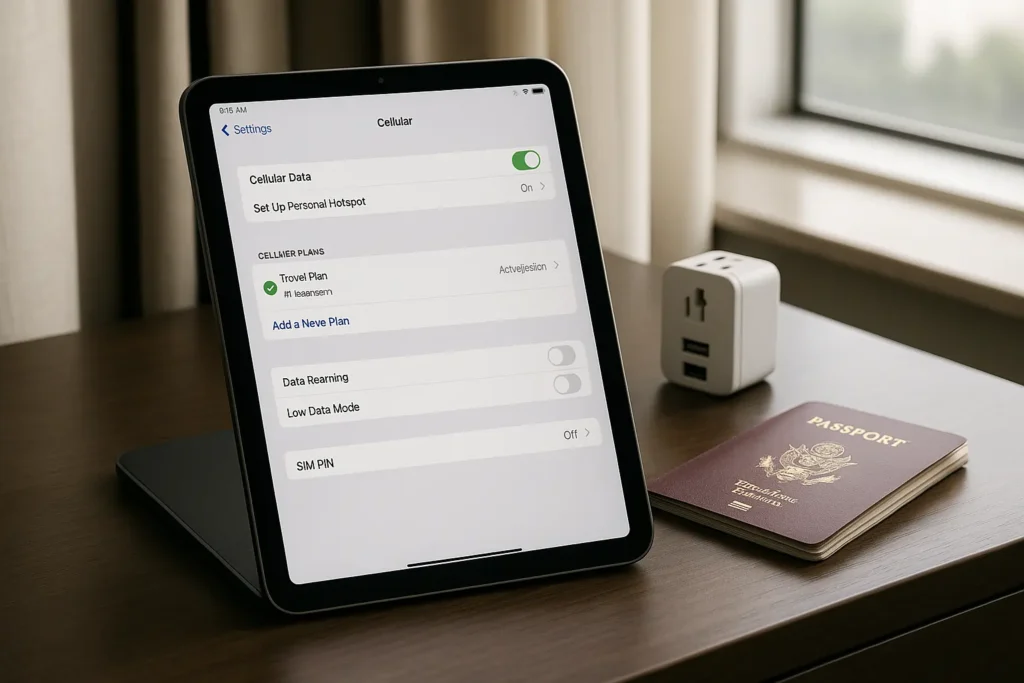
- Open Settings > Cellular Data
- If you see Add Cellular Plan, your iPad is eSIM compatible
Why Travelers Should Use an eSIM on iPad

If you rely on your iPad for navigation, content, work, or communication during trips, eSIM simplifies everything. Here’s how:
- No need to find or insert physical SIM cards abroad
- Instant activation — before you even board the plane
- Access maps, local services, and bookings on the go
- Easier for families/kids who stream or use learning apps on iPads
- Connect your iPad without needing phone hotspot tethering
Whether you’re walking the streets of Rome or camping in the Rockies, having a mobile data plan directly on your iPad offers freedom and convenience.
How to Activate eSIM on iPad (Step-by-Step)
Once you confirm your iPad supports eSIM, here’s how to get started:
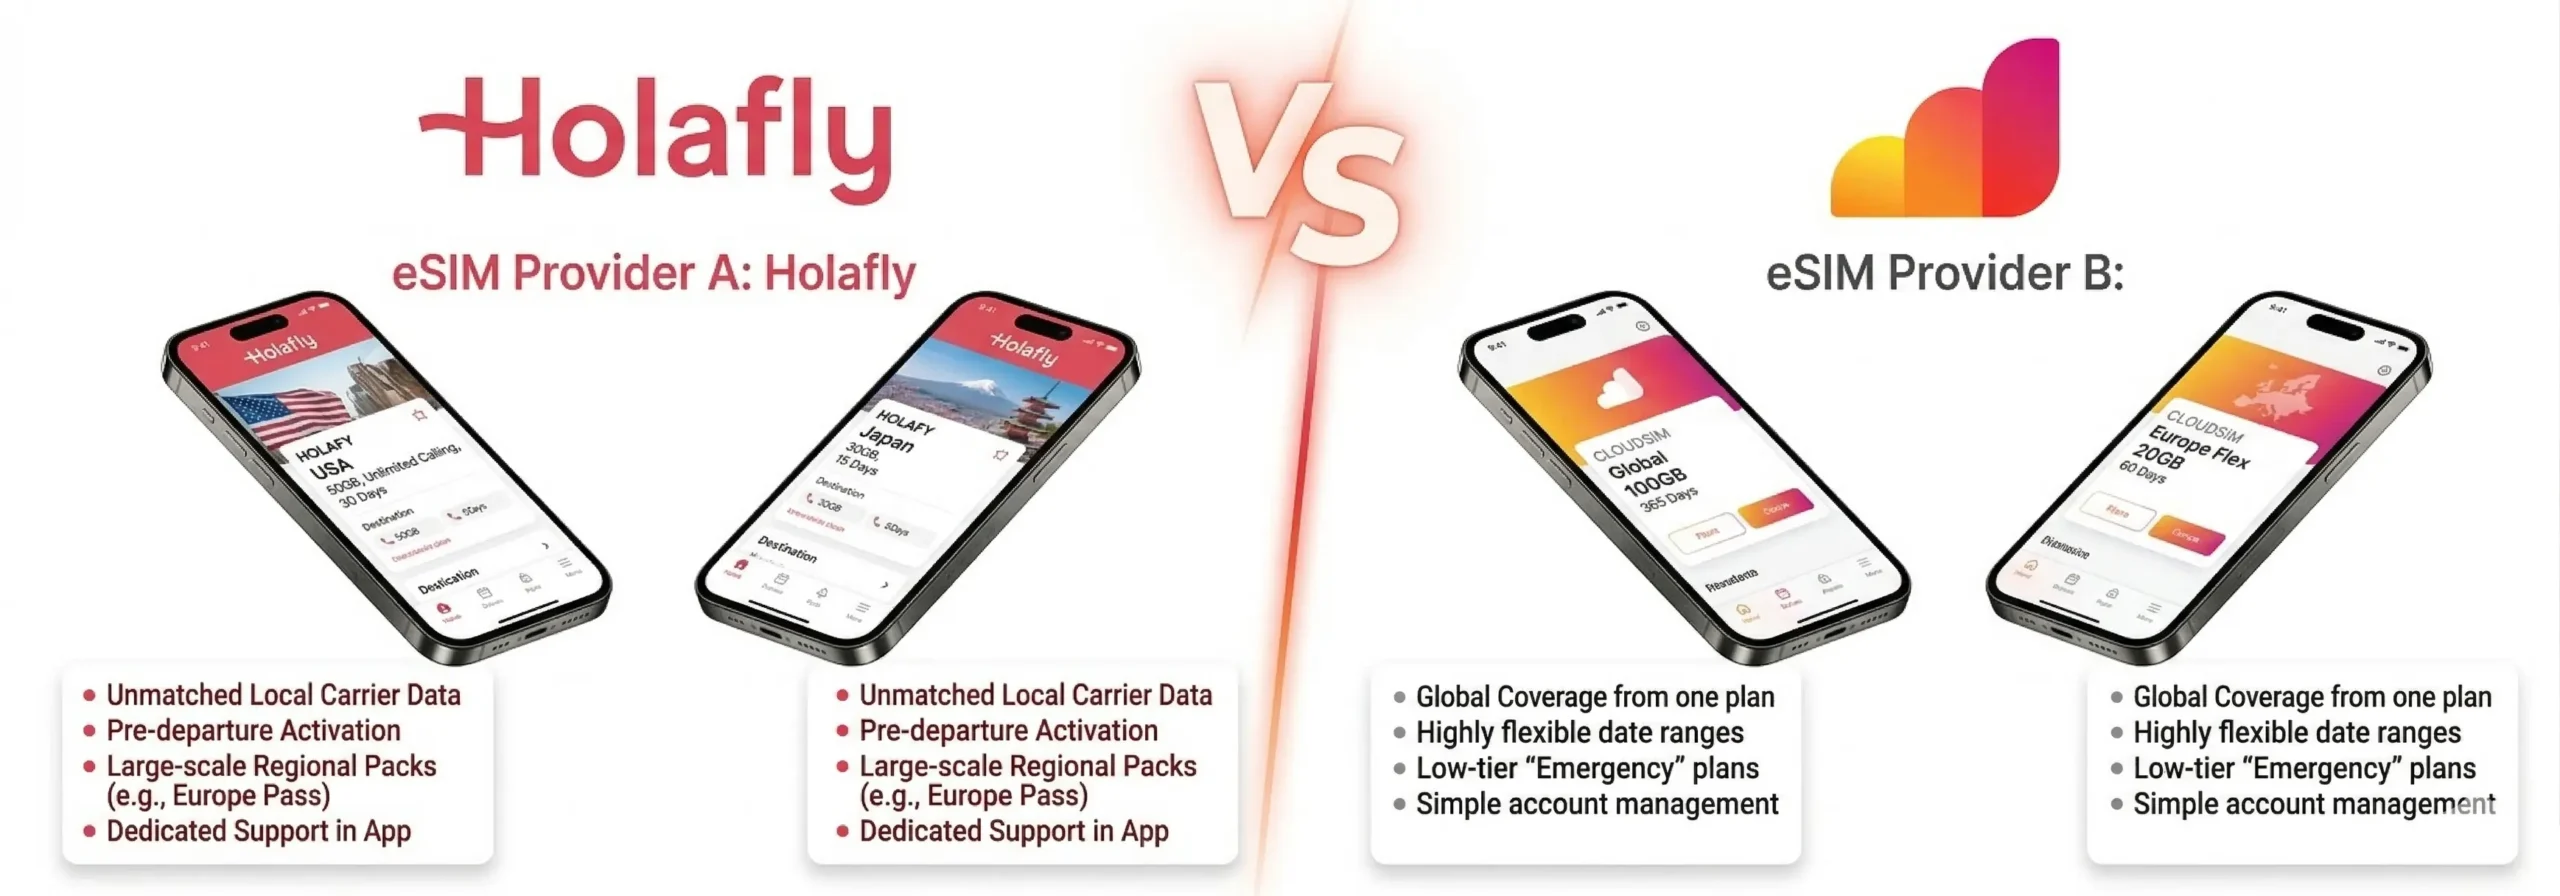
1. Choose a Travel eSIM Provider
Some of the most trusted travel eSIM brands include:
Browse their country or region-specific plans based on your destination.
2. Purchase Your eSIM
Buy the plan online. Most providers will either:
- Send you a QR code
- Ask you to install via their app
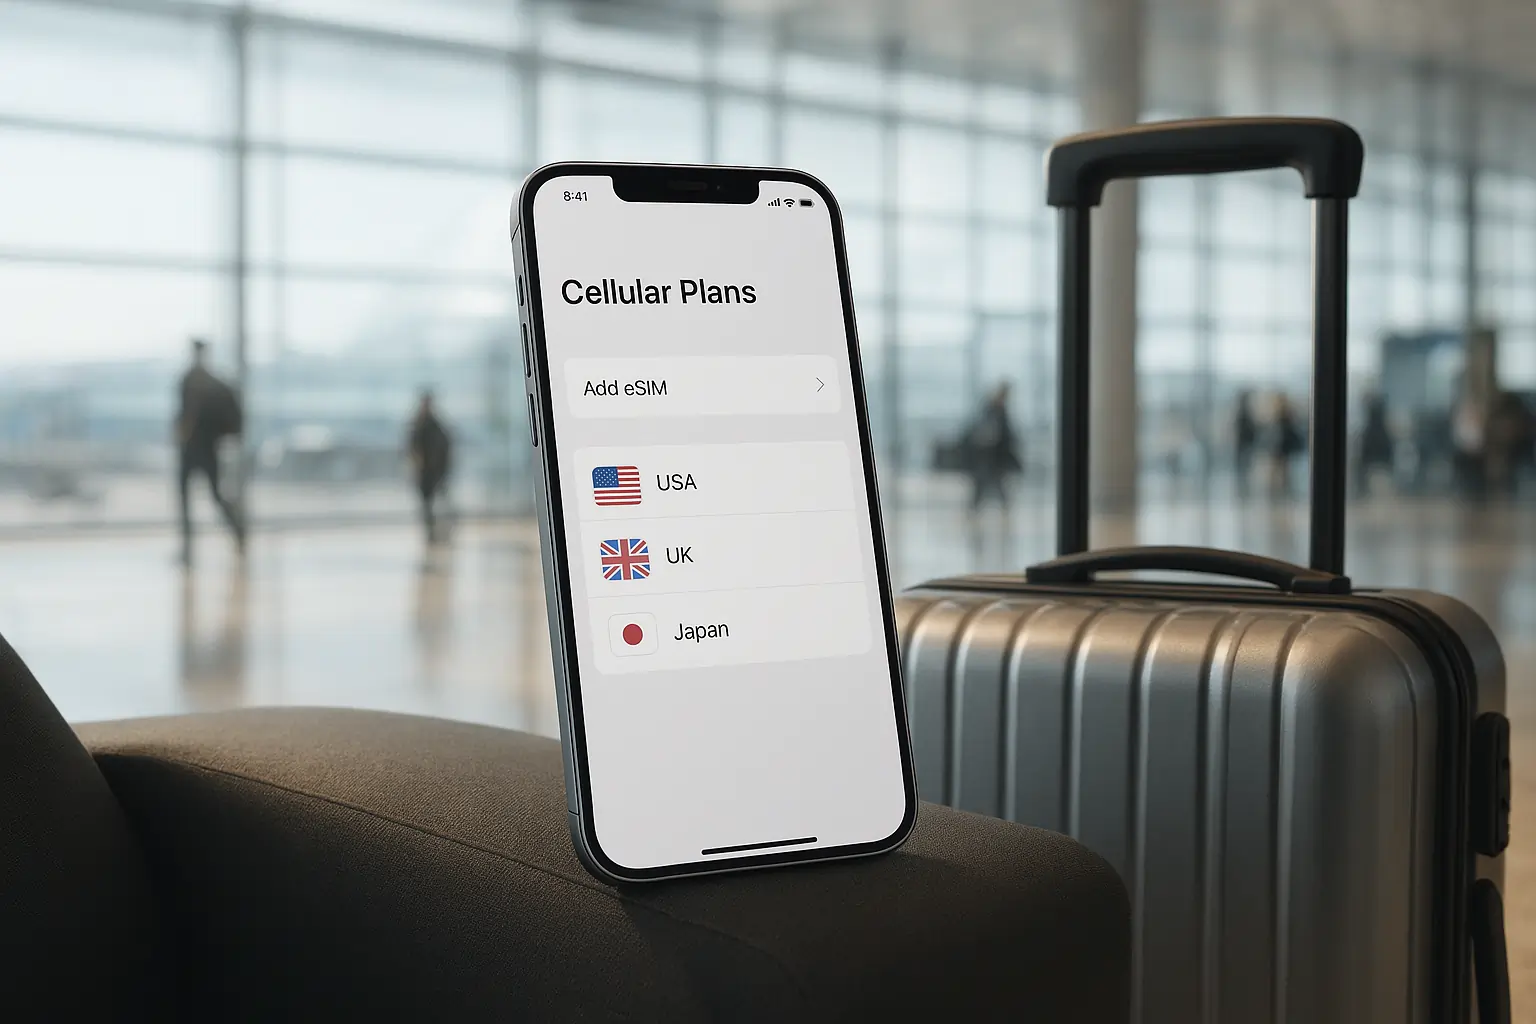
3. Install the Plan on Your iPad
Go to:
- Settings > Cellular Data > Add Cellular Plan
- Either scan the QR code or use a provider app to download the plan
Name the plan something helpful like “Europe Trip” or “Japan April”.
4. Use It During Your Trip
Once installed, the eSIM activates when you arrive and the iPad detects a supported local network. You’ll be online without having to search for Wi-Fi or local SIM shops.
What to Look for in an iPad eSIM Plan
When comparing travel eSIM plans for your iPad, consider these factors:
| Feature | Why It Matters |
| Data Allowance | Streaming on iPad can consume data fast |
| Hotspot Support | Some plans allow sharing with other devices |
| Validity Period | Match your plan length to your travel dates |
| Coverage Area | Choose regional or global plans if traveling to multiple countries |
| Top-Up Options | Useful for long-term or flexible trips |
Pro tip: Always download offline maps and translation apps before you travel, just in case you lose connection or need to save data.
Real Travel Scenarios Where iPads with eSIM Shine
- Solo traveler in Europe: Use your iPad to book last-minute hostels, check train timetables, or stream a movie on FlixBus.
- Digital nomad in Southeast Asia: Work from a café in Bali while tethered to your iPad’s data plan without worrying about local SIMs.
- Family trip to the US: Keep kids entertained with offline games and videos, while also staying connected for emergencies or directions.
Final Thought
Not every traveler needs a phone with dual SIMs. Sometimes, your iPad is the most powerful travel tool you have. And when it’s equipped with an eSIM, it’s even better. From staying productive to being entertained and informed on the go, a connected iPad means smoother, smarter travel.
If you’re not already using an eSIM, now’s the time to try one. And if your iPad supports it, you’re just a few taps away from full travel connectivity.
FAQs
1. How do I know if my iPad supports eSIM before I travel?
Check in Settings > Cellular Data. If you see an option to “Add Cellular Plan,” your iPad supports eSIM. Also, confirm that your device is a Wi-Fi + Cellular model—not Wi-Fi only.
2. Can I activate an eSIM on my iPad while I’m still at home?
Yes. In fact, it’s best to activate your eSIM before your flight. This ensures you’re connected as soon as you land—no need to hunt for SIM shops or public Wi-Fi.
3. Is eSIM faster or more reliable than hotel Wi-Fi?
In most cases, yes. Hotel Wi-Fi can be slow, limited, or unsafe. With an eSIM on your iPad, you get direct access to local mobile networks, often with 4G or 5G speeds.
4. Will my iPad eSIM work across multiple countries during one trip?
That depends on your provider. Some eSIMs (like Airalo or Nomad) offer regional or global plans that work across multiple countries without switching plans.
5. Can I use my eSIM on iPad for hotspot or tethering?
Yes, most iPads with eSIM support Personal Hotspot. But always check if your eSIM plan allows tethering—some unlimited data plans may restrict it.


Leave a Reply