
Apple’s iPhone 17 lineup, including the ultra-thin iPhone Air, is pushing the industry further into an eSIM-only future. For travelers, students abroad, and frequent flyers, the most common concern when upgrading is: how do I keep my mobile connection intact?
This guide focuses on transferring eSIM on iPhone 17 upgrading, explaining the methods, best practices, and common issues. By the end, you’ll know exactly how to move your eSIM, set up travel eSIMs, and ensure uninterrupted connectivity on your new device.
Why Transferring eSIM Matters More With iPhone 17
Unlike older iPhones where you could still swap a physical SIM, iPhone 17 is built around digital connectivity. In regions like the United States and parts of Europe, iPhone 17 models no longer include a SIM tray. That means every traveler must rely on eSIMs.
Key reasons transferring your eSIM is critical:
- No fallback option with physical SIM cards.
- International trips often require multiple eSIM profiles.
- Travel eSIMs save money compared to roaming, making them essential on iPhone 17.
For people who use their phone daily for work, navigation, and communication abroad, transferring eSIM on iPhone 17 upgrading is a must-do step before the journey begins.
Methods for Transferring Your eSIM to iPhone 17
There are three main ways to move your eSIM successfully. Depending on your carrier and region, one method may work better than the others.
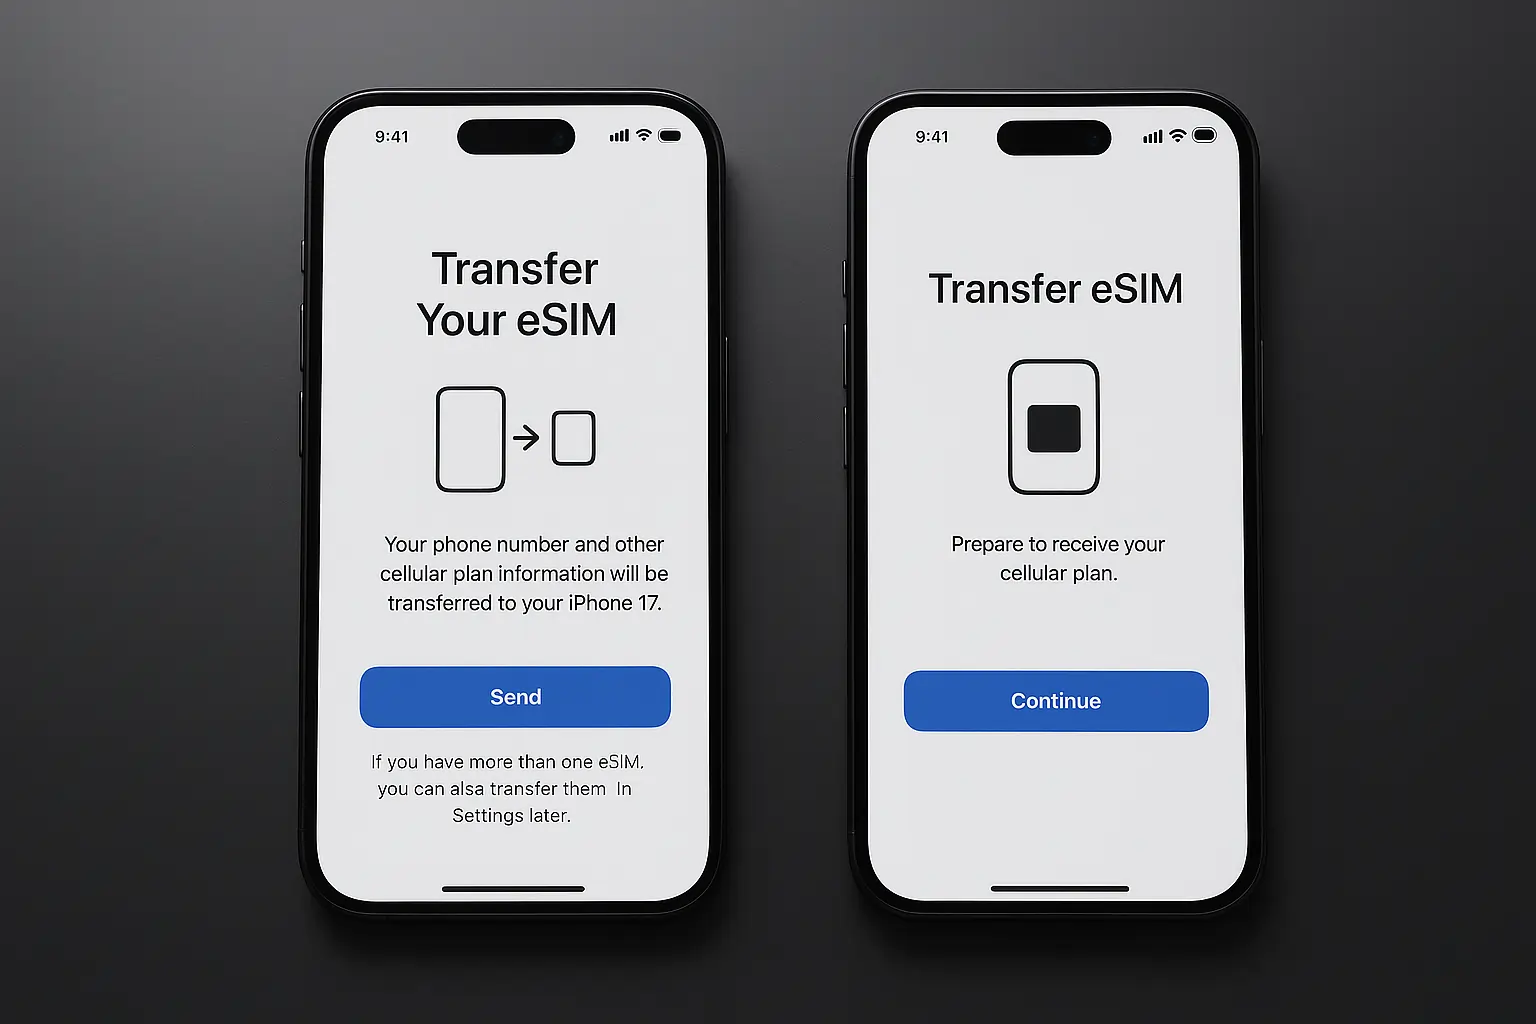
1. Quick Transfer During iOS 26 Setup
Apple’s iOS 26 makes it easy to move eSIMs from an older device.
Steps:
- Place your old iPhone (running iOS 16 or later) near your new iPhone 17.
- Start the setup process on iPhone 17.
- Choose “Transfer eSIM and Phone Number.”
- Follow prompts until you see the confirmation message.
This method works with most global carriers and is the simplest way to switch eSIM to your new iPhone.
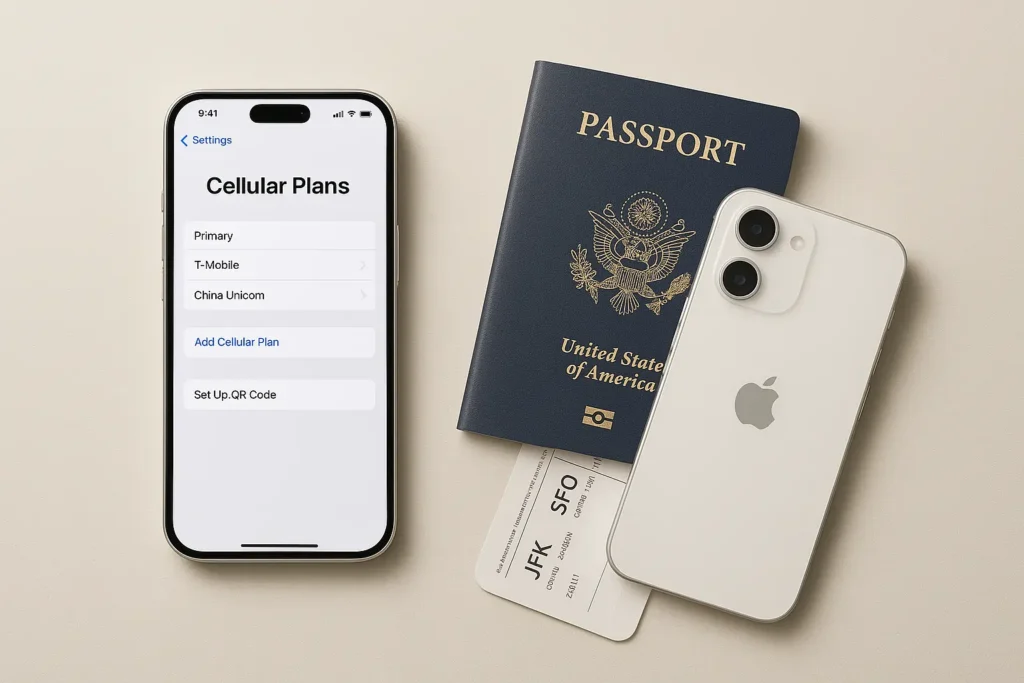
2. Using Carrier QR Code or App
If Quick Transfer doesn’t appear or your carrier doesn’t support it, you can reinstall your eSIM manually.
Options include:
- Scanning a QR code provided by your carrier.
- Downloading your carrier’s app (such as T-Mobile, Airtel, Vodafone, or Orange) and logging in to activate your plan again.
This is also how most travel eSIM providers deliver their service: you receive a QR code via email and simply scan it to activate data service on iPhone 17.
3. Manual Transfer Through Carrier Support
In some regions, carriers require manual reactivation. To do this:
- Contact your carrier’s customer support.
- Request a fresh QR code or activation link.
- Provide your iPhone 17’s EID number (found in Settings → General → About).
This method is especially common when moving between countries with regional restrictions.
Tips for a Smooth Transfer
Whether you’re moving your primary plan or installing a travel eSIM, these tips will help:
- Back up your old iPhone before starting the transfer.
- Install travel eSIMs before you leave your home country, as activation may require internet access.
- Keep your old iPhone powered on until you confirm the new one is connected.
- Save multiple eSIM profiles for work, personal, and international data use.
Taking a few minutes to prepare ensures that transferring eSIM on iPhone 17 upgrading is seamless.
Common Issues and How to Solve Them
Even with iOS 26, some users face small hurdles. Here are common issues and fixes:
- No signal after transfer: Restart the iPhone 17 or re-download the eSIM.
- Carrier not supported: Request a new QR code from your provider.
- Travel eSIM not activating: Double-check APN settings given by your eSIM provider.
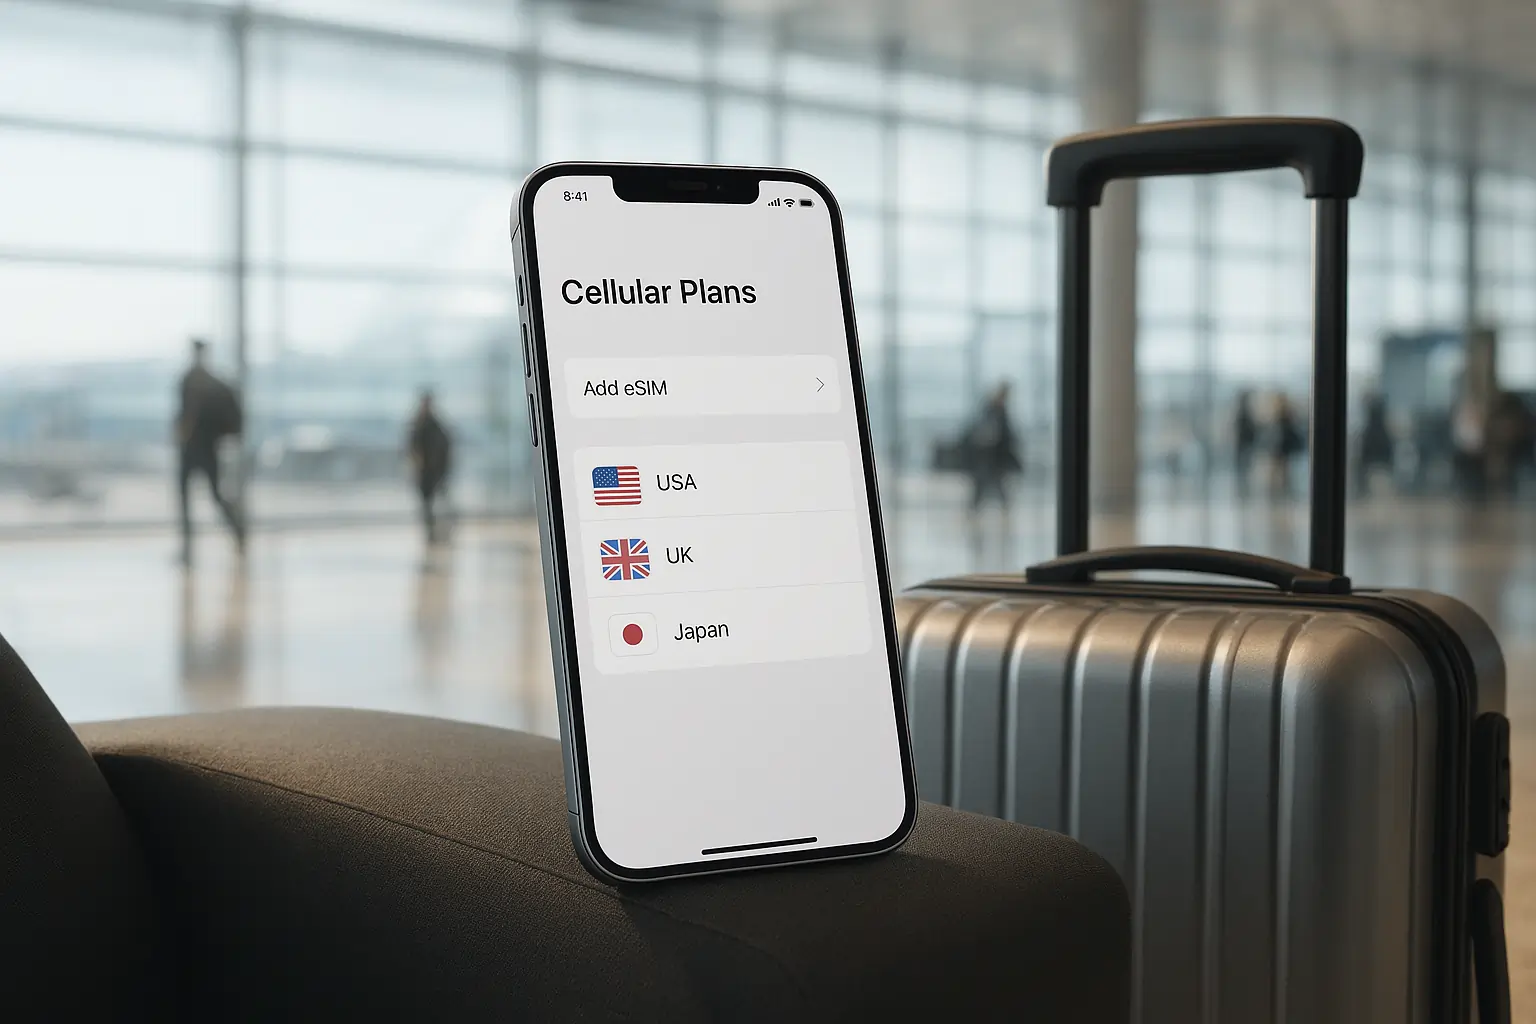
- eSIM disappeared during setup: Go to Settings → Cellular → Add eSIM and repeat the process.
Most problems resolve quickly, but travelers should test connectivity before boarding a flight.
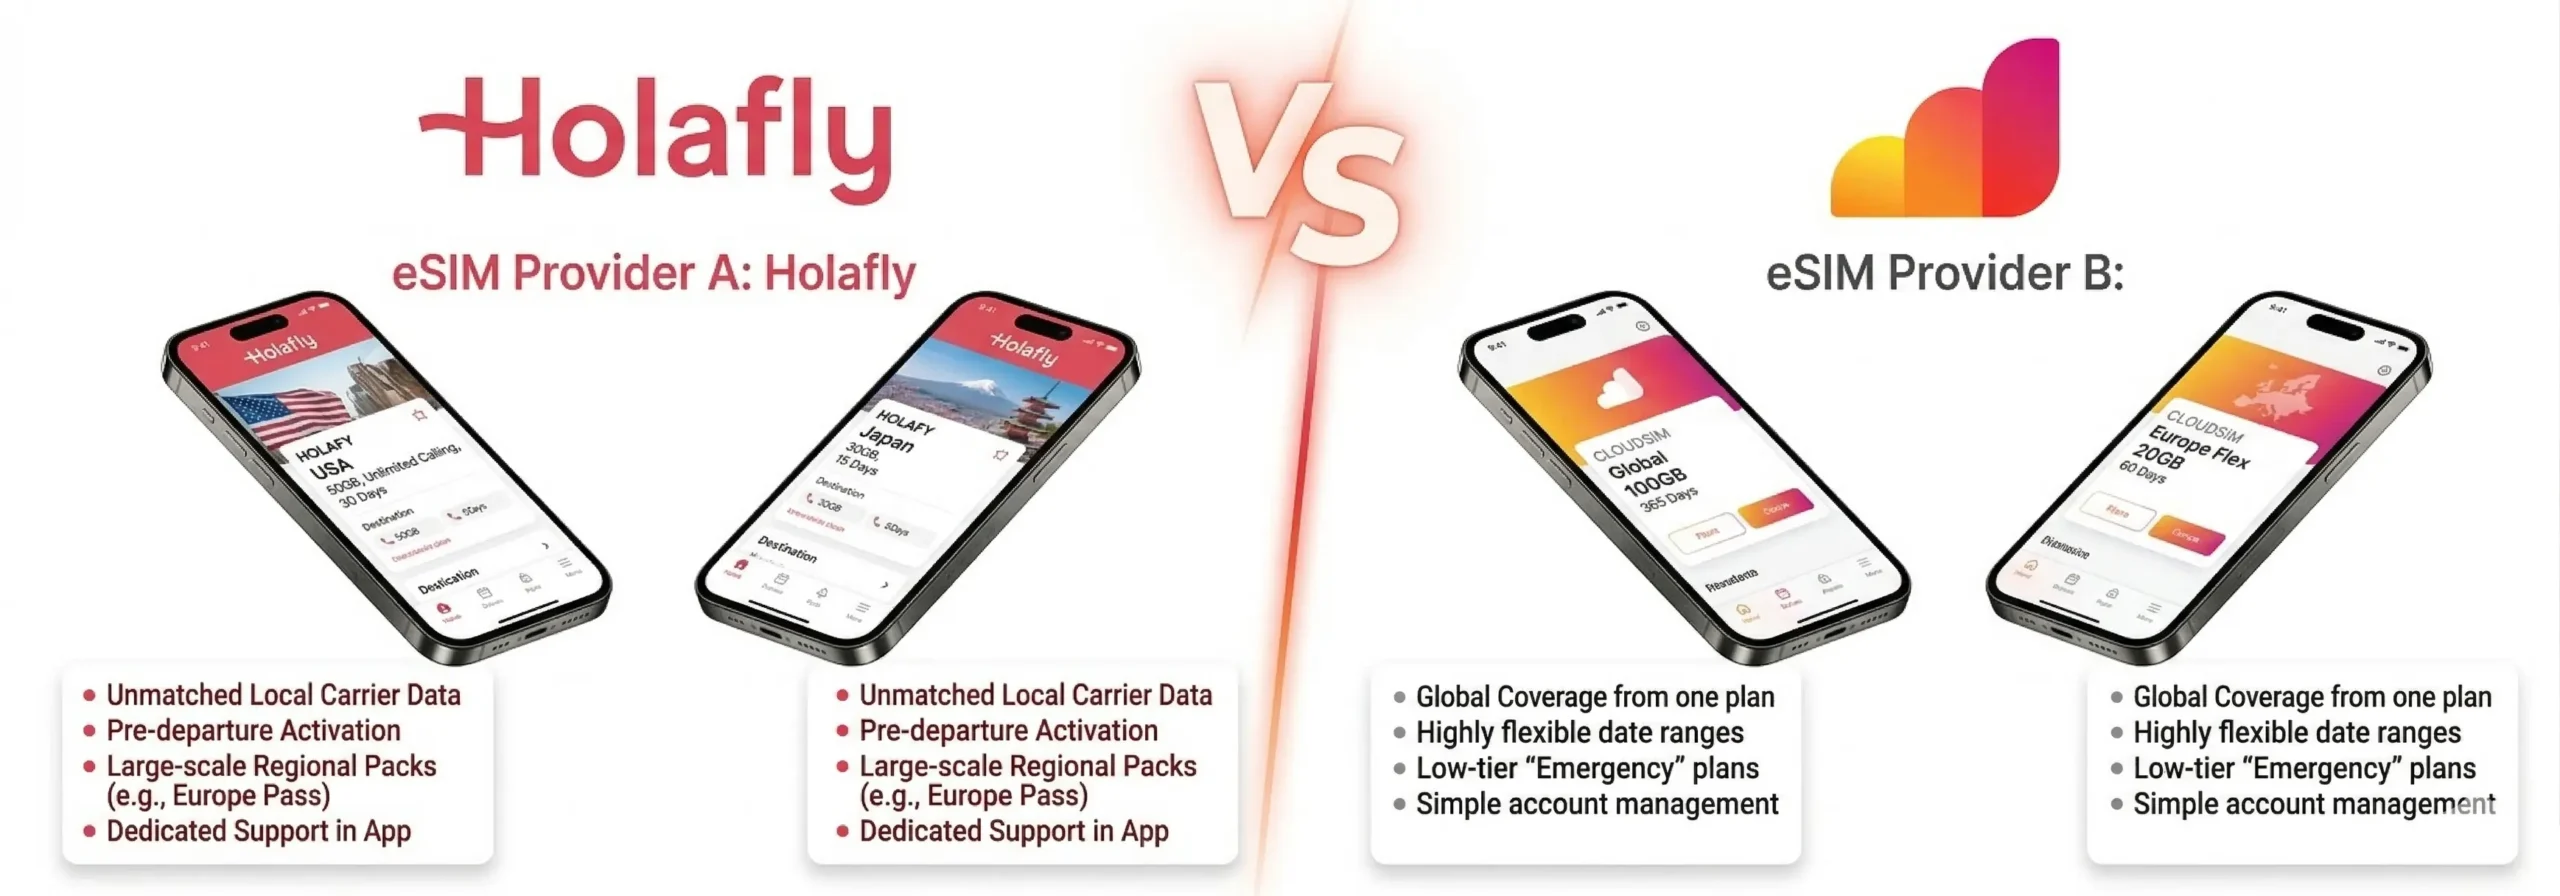
Why Travel eSIMs Are Ideal for iPhone 17 Owners
Travel eSIMs are designed for the exact scenario Apple has created with iPhone 17. Instead of worrying about physical SIM cards, you can:
- Activate a plan instantly through a QR code.
- Avoid high roaming charges by choosing local or regional data packages.
- Store multiple eSIMs on one device and switch between them in seconds.
- Enjoy full compatibility with iOS 26’s new eSIM management tools.
This is why many digital nomads and frequent travelers now rely on travel eSIM providers. They allow seamless movement across countries without needing to visit a local SIM shop.
Conclusion
The iPhone 17 marks a major step toward an eSIM-only future. That makes it more important than ever to understand the process of transferring eSIM on iPhone 17 upgrading. Whether you use Quick Transfer, a QR code, or manual carrier support, the steps are straightforward when you prepare in advance.
For international travelers, switching to a travel eSIM ensures affordable data, instant connectivity, and flexibility across borders. As Apple continues to refine iOS for eSIM users, upgrading to iPhone 17 can be a smooth and powerful experience when done right.
Planning your next trip? Explore the best travel eSIM deals today and make your iPhone 17 the ultimate travel companion.
FAQs
Can I keep multiple eSIMs on my iPhone 17?
Yes, iPhone 17 supports multiple eSIM profiles, which is useful for storing work, personal, and travel data plans.
Do I need Wi-Fi to transfer my eSIM?
Yes. Most transfers, especially Quick Transfer, require Wi-Fi or mobile data to authenticate.
What if my carrier doesn’t support eSIM transfer?
You’ll need to contact your carrier and request a new QR code or use their official app.
Can I move my travel eSIM back to my old iPhone?
In most cases, once the eSIM is activated on iPhone 17, it cannot be reinstalled on your old device. Plan accordingly.


Leave a Reply